Monday, 20 June 2011

Retail Therapy

Morning Peeps,

Hope you all had a good weekend.  Mine seemed to consist of housework, shopping for a Prom suit for my son, lunch yesterday for Father's Day and an evening trying to list cards and crafting items for sale on Ebay, a tedious job but I have so many gathering dust it was a necessity.  Sooooo, no crafting! Yikes it's a crime I know.

I do have another Sassy card to show you and I know for many of you this was a favourite.  If you haven't already done the hop, you have until tonight so hop on over to the Simply Sassy blog, after you've viewed my card of course, lol.


I fancied trying my hand on the kraft with prisma pencils again, I really do like to flit in and out of different styles, and as Paula commented once, you never know what your going to get from me.  Lol, exactly!

Ingredients:-
Image "Retail Therapy" available from Funky Kits HERE
Papers by Websters (love these)
Lasercut Chipboard available from Make It Crafty and Quixotic Paperie here in the UK, yay
Martha Stewart Frond Punch
Sentiment from LOTV
Acrylic Paint and Lace from stash

I'd like to enter my card into the following challenges:-

Kreative Stamp Friends - Birthday
Hooked on Crafts - Anything Goes
Make it Monday - Anything Goes
Charisma - Pink/Green
Delightful Challenges - Anything Goes


Have a good week all and thanks for any comments you may leave, I really do appreciate it.


Saturday, 18 June 2011

Get Sassy for Christmas

Morning Peeps,

It's that exciting time again where all the Sassy DT come together to display the newest release of Simply Sassy stamps and this release is all about Christmas/Winter.  Christmas cards are just my favourite cards to make and although this is a christmas release some of the stamps I believe can be adapted to suit birthdays too.  I usually start my christmas cards in July, as I know many of you do, so I know your going to enjoy what we have in store.  If you have arrived from the Simply Sassy Inspiration Blog then your the right track, if not hop over HERE.

I have used "All Spruced Up".  I see her as just coming in from outside and taking her sprucy tree into the living room to place next to the lit fire to decorate, but you'll have to pop back another time to see that bit, lol.  I have paired her up with one of the newly released Make It Crafty background images, home sweet home, thought this suited my little story perfectly.


This sassy image really reminds me of my niece with her cheeky grin, so watch out Chelsea this one could be for you!

A bit of acrylic paint here and there, especially on that tree where it has been snowing outside.

All spruced up is available today, just click on the picture below to go shopping


Ingredients:-
Image "All Spruced Up" by Sugar Nellie Simply Sassy at Funky Kits HERE
Home sweet Home available HERE from Make It Crafty 
Lasercut chipboard corner available HERE from Make It Crafty 
Papers by Websters 
Marianne Design Leaf Die
Doily and acrylic paint from stash

Don't forget to leave a comment on all of the DT in order to be in with a chance of winning the whole set of 6 stamps, and Maria will be checking....

So next on the hop is fabulous Erica.  Enjoy! 


Friday, 17 June 2011

New Gargoyles of Notre Damm

Morning Peeps,

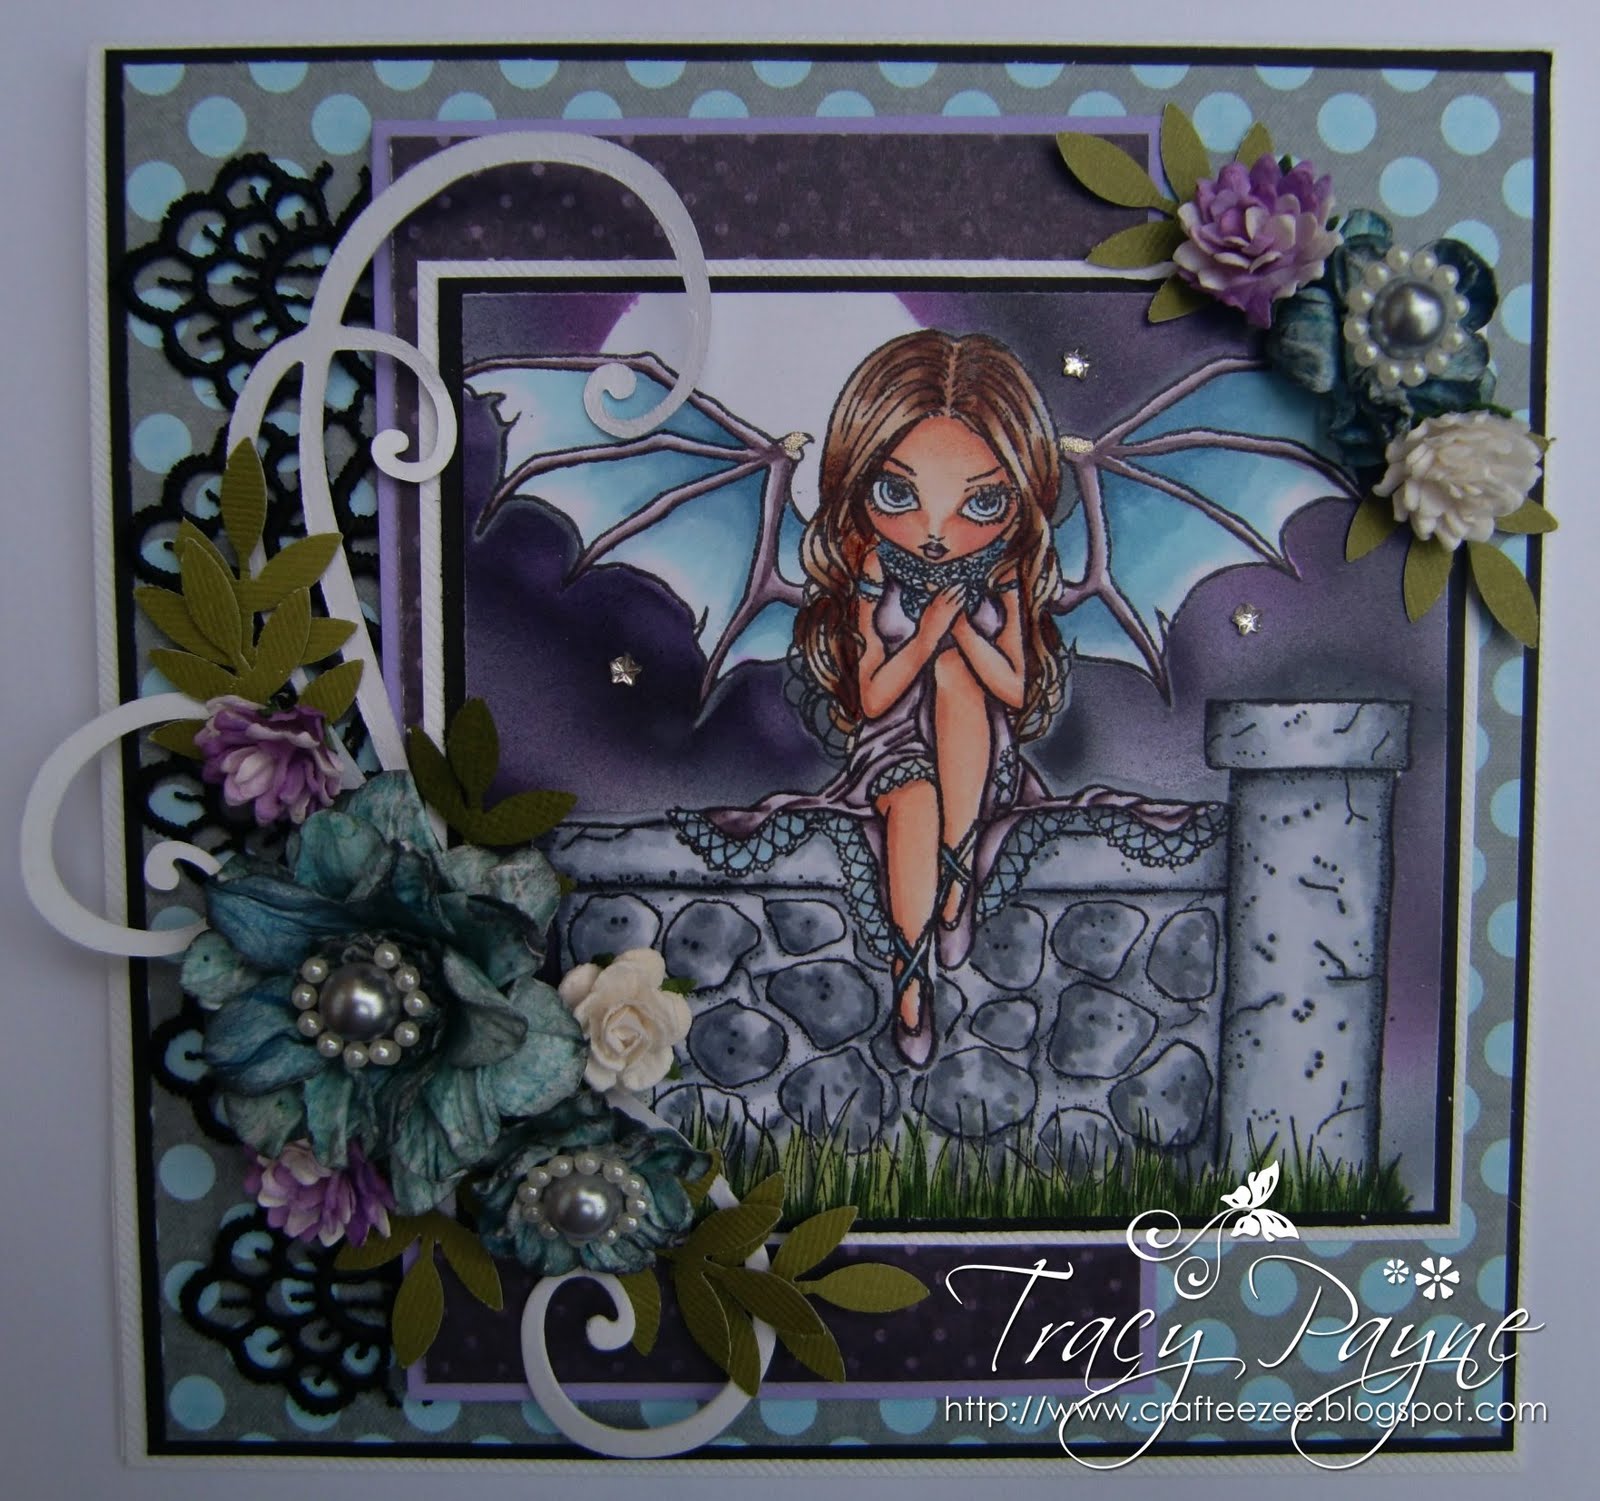
It's certainly been a long week at work this week, well in fact it's been a long two weeks, but for different reasons that I wont readdress.  I have today created a card using the new Jasmine Beckett Griffiths "Gargoyles of Notre Damm" available from Crafts and Me HERE.

I did a bit of masking on the images as well as creating a moon and then airbrushed the background, although I didn't mask around the images too well and there was a little white area left that I had to touch up, but we learn don't we.


I'd like to enter my card into the following challenges:-

Cupcake Craftroom - Flowers and leaves
Paper Shelter - Punches/Dies
My Time To Craft - More than one image
Cheerful Stampad - Things with wings
DDH - Pearls and Lace
Hooked on Crafts - Anything Goes
Lexis - No sentiment
Make My Monday - Diecut Flowers (as shown in my tutorial, link at the top of my blog)
Stamp with Fun - Pearls and Flowers

Have a good weekend.


Monday, 13 June 2011

Simply Sassy "Secret Santa" Sneek Peek

Morning Peeps,

Where does the weekend go? Seriously I seem to be living for the next bank holiday or day off work lately.  I think we should do 3 day weeks, wonder whether my boss would agree with me, ummmmm, best put that on the back burner.

Today it's my turn to post on the Simply Sassy Inspiration Blog and I have a Christmas sneek peak for you.  I love making Christmas cards and usually aim to start in July and still never have enough.  I have used Sugar Nellie's Simply Sassy "Secret Santa" which will be available for sale after our blog hop this Saturday, oh yeah don't forget to pop by.


I have used lots of texture on this card with Geso, Acyrlic Paint, Dimensional/Irredescent paint and also puff paint heated with my heat gun to give it that puff.


Ingredients:-

Image "Secret Santa" availalbe from Saturday 18th at Funky Kits HERE
Stempleglede stamp around the edges
Websters papers
Corrugated Card
Flowers by Wild Orchid Crafts
Martha Stewart Frond punch
Lasercut Chipboard Corners
Mulsin Cloth
Magnolia Doohickey Die
Puff Paint
Dimensional Paint
Geso and Acrylic Paint 

I would like to enter my card into the following challenges:-

Paper Sundaes - Girly Girl
Wee Memories - Anything Goes
Totally Gorjuss - Flower Power 
Clearly Inspired - Distressing 
Crafts4Eternity - Picture Inspiration 
AiFactory - Something new (stamp) 
Pixie Dust - Christmas or winter themed 
Southern Girls - Christmas 
AnitaBStampin - Layers 
Craft Room - Anything Goes 
Everybody Art - Distress 
Papertake Weekly - Anything Goes 

Saturday, 11 June 2011

Feeling Blue at Make It Colourful

Morning Peeps,

Today at Maket it Colourful the theme is to colour with "Blues".  Well seeing as this is my favourite of favourite colours I had to join in this challenge and coupled with the fabulous recent releases from Make It Crafty I had a difficult choice choosing which image to use first, lol.  Well, as you'll see below, "Siren of Pearls" and the "Clam Shell" won.


Isn't she just the most gorgeous mermaid. Love her flowing locks. I have also used the new lasercut chipboard leaves, also available from Make It Crafty.


Ingredients:-
Images Siren of Pearls and Clam Shell from Make It Crafty HERE
Flowers from wild orchid crafts
Quickutz corner die and icing sugar rub ons
Martha Stewart Frond Punch
Pearls from Stash

I would like to enter my card into the following challenges:-

Crafy Ann's - More than one image 
Shelly's images - Anything Goes 
Deep Ocean Challenge - Anything Goes + Optional Sea image 
Divas by Design - Florals 
Paper Pretties - Summer 
A spoonful of sugar - Here comes summer 
Crazy Amigo - Summer 
Papertake Weekly - Anything Goes 
Cupcake Craft - Things with tails 
Cardmad Fairy - Under the sea 
Poodles Parlour - Anything Goes 


Enjoy your weekend. 


Thursday, 9 June 2011

Scrunched Flower Tutorial

Hi there Peeps, I know a busy week,

I have produced a tutorial for the Simply Sassy Inspiration Blog HERE.  I love these scrunched flowers.  By the way don't forget Maria posted a challenge for you HERE.  You can enter by following any of the tutorials on the Simply Sassy site using a Sugar Nellie image, although we'd love to see your Sassy's.

Today, I wanted to show you how to create the scrunched flower and this is what you will need.


 3 Punches or Dies
Doublesided cardstock
Mini Mister filled with water
Brads
Ink if liked
Heatgun


 Punch 4 large, 3 medium and 3 small Flowers, I have used punches for this tutorial but I have also used Dies, so experiment with whatever you have available


You will need to pierce a hole in the centre of each flower.  I tend to do this individually as it you do it when all 10 are together it can be quite hard to pierce through.


 Ink the edges if you like this style, bear in mind that once we add the water the ink will spread, but I love the look of this.  Add your brad to the centre


Spray the flower with the water mister and fold up each petal to the centre.  The more scrunchier the better, so don't worry about being particular.


It will look like this. You can either use your heat gun and gently unravel the petals and heat or you can leave it to dry naturally.


I used the centre petals closed.  You could add a pearl centre and some glimmer mist for that sheen and sparkle finish.


For the smaller ones I used 4 medium flower punches and 4 small and followed the same procedure.

Voila!

And here's a card I made earlier using this technique.


Hugs Tracy x


Wednesday, 8 June 2011

Stamp Something at Crafts and Me

Morning Peeps,

I know I'm back, 3rd post in as many days and the week hasn't finished yet.  Today at Crafts and Me it's my turn to choose the theme and in my true traditional style I have chosen something really easy peasy..... just "Stamp Something".  So no holds barred, if it's a stamped image then it counts. 

For my DT card I have used the new Sara Burrier "Daydreamer" available HERE at Crafts and Me.


Materials Used:-

Image "Daydreamer" availalble from Crafts and Me HERE
Dienamic butterfly die available HERE
Medium - Copics
Background - Broken China Distress Ink
Papers are Bearly Mine Designs
Stitching using a sewing machine
Gesso/Acrylic white paint
Martha Stewart Frond Punch
Flowers by Wild Orchid Crafts
Pearls and Muslin cloth from stash
Sentiment from Whimsey Stamps

I have entered this card into the following challenges:-

Everybody Art -Distress
Scrap Creations - Birthday
Papertake Weekly - Anything Goes
Craft your passion - Anything Goes
Kaboodle Doodle - Mystical Creatures
Creations by Gill M - Green/Pink plus flowers
Wags n Whiskers - Stitching
Charisma - Something that flies