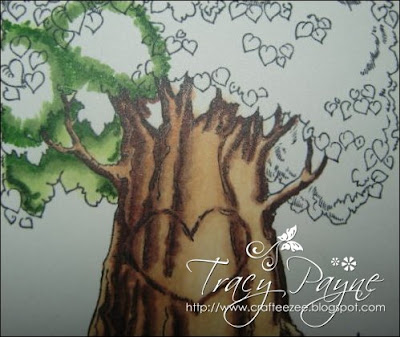
I'm back again with Part II of colouring a tree. This time it is the greenery so the tree doesn't look flat. If you missed part I, colouring the wood of a tree you can view it HERE.
I am using Copic Markers: YG67, YG63, G20 and G99
----------------------------------------------------------------
If I coloured this tree from the left to right using the 3 coloured markers, it would look really flat. So let's bring the tree to life!
Start with your darkest marker, YG67
Your darkest areas will be those shadowed by other leaves or branches. Blend out the YG67 with YG63.
Then blend out the YG63 with G20.
As I did with the tree trunk, I am going to colour in sections. I outlined some sections using G20 as a guideline.
Then I start my process again using YG67. Do not worry about the leaves at this stage, I will be going back in with G99, a darker green to distinguish these.
Blend out using YG63.
And again using G20.
I have then gone back to the leaves using G99.
Then blended out the leaves using the G20.
I have gone back to those shadowed areas and added E25 and blended out with the G20. I think this adds a bit of contrast to the greenery.
And this is the finished Tree.


7 comments:
What an awesome tutorial Tracy! Your colouring is just so amazing and I lvoe the texture you have created :)
Thanks for yet another great tutorial.
Hugs
Jane
Hi Tracy fab tutorial going to have a go today. Thanks. Caroline xxx
fabulous tutorial, thanks so much
Sue
Great tutorial Tracy, thanks so much.
I didn't get your email re the mermaid scene either. Don't know what's happening. My email is janinechan3@yahoo.co.uk. Thanks for coming back to me.
Hugs, Janine xx
Thanks for you beautiful tutorial!
hugs Yvonne
Great tutorial, Tracy. Thank you. Your tree looks fabulous! Hugs, Lesley
Post a Comment