Showing posts with label Copic Marker Europe. Show all posts

Wednesday, 13 August 2014

Dashing Through the Snow....

Hello Everyone,

I know I have a christmas card to share with you and it's only August, lol, I blame Lili of the Valley myself bringing out such cute stamps, lol.

Soooooo dashing through the snow or hurtling more like, lol.  Now a couple of posts back you would of seen the new Marianne Design Window die I used but opened the window up and made a summer scene, well today I have a winter scene and I have added the die cut snow pieces to the window with some snow tex.


I made an Aperture with the window and added accetate so I could attach the snow die cuts.  The tree is also a Marianne Design die.

This is what it looks like on the inside.  It's very difficult to photograph as the accetate reflects the light.


Here is the little chap with a little chunky white frantage dotted around.


All the papers used are from Michelle Roos Digital Paper Collection and I used Winter Frost.  These can all be found HERE.

The next picture looks wonky but it's not really, just the angle that I took the picture from.


Copics Used:-

Skin E00, E000, E11, E04 Blush R20
Blues B91, B93, B95, B97
Snow/White BG0000, BG000, C5, C3, C1
Browns E53, E50, E49, E47, E44, E43, E40, E31, E25

Hugs Tracy x
Follow Me on Pinterest

Saturday, 22 September 2012

All in Blue


Hi Everyone,

I have been dying for ages to colour up a Saturated Canary image by the fabulous Krista Smith and what a beauty this one is. So I took the opportunity to combine my DT card for Copic Marker Europe and Make It Crafty together.  I remember a long time ago, when I was a Simply Sassy Girl, writing on Krista's blog that I'd love to see more images with long flowing hair, and this little lady certainly fits the bill.  She came in the E-Book from Make It Crafty which the awesome Zoe has put together to show you how to achieve those defined strands of hair, definitely worth Copic enthusiasts investing in and a must have for practicing hair, and to be honest the best advice I can give anyone who is new to copics is, practice, practice and practice.

And here's my finished card. 


I also have a new camera, yayyyyyy.  I'm still practicing with that too, so any tips will be greatly welcomed.


Ingredients:-
Image by Saturated Canary available in an E-Book from Make It Crafty
Pion Papers ( love these)
Go Kreate Dies
Leaves, flourish corner and mini butterfly chipboard embellishments by Make It Crafty and coloured with prisma pencils
Marianne Design Ribbon Rose
Square Doily

Copic Markers:-
Skin: E00, E01, E11, E000
Cheeks: R20
Hair: E35, E37, E47, E49, E50
Dress: B16, B18, B39, B00, B01, B16, B18
Shadows: B63, C3

I would like to enter my card into the following challenges:-

Card Crafters Circle - Ribbon and Roses
Patties Creations - Anything Goes
Cute Card Thursday - Shaped Cards
Little Miss Muffett - Anything by square
Pennys Paper Crafts - Anything Goes
Whimsey inspires - Anything Goes
Cutiepie - Shaped Cards

Enjoy the weekend.

Hugs Tracy x

Tuesday, 13 December 2011

Colouring a Snowman Tutorial

Hi Peeps, 

I prepared a tutorial for the Copic Marker Europe blog on colouring snow.  I have used the Magnolia snowman as my image.  White is  very easy to colour.  You don't want to colour too much of the image to get the effect. You can use your cool grey tones but the warm greys also work well.  For today's snowman I have used C3, C1, BG10.

I stamped the snowman onto Copic Colour perfect colouring card. I have started by mainly colouring the shadowed areas and leaving the rest true white.  I have started with C3.


I then blend out the C3 using C1


I then added some BG10 as when colouring cold, frosty or snowy images if you add a blue tinge it gives off that feeling of coldness.


As I like smooth edges I have gone in with my colourless blender and blended to smooth the edges out.

You can also outline your image using the BG10 and this really makes your image pop.


And here's the card I made using the snowman.  I do like to create depth in my colouring, and this is the great thing about copics, you can always add more colour, so I went back in and darkened some of the shadows using my C5, and blending out with the C3.


This is my first shaker card and won't be my last, I really like how it turned out.

Thursday, 10 November 2011

Fairy Wishes

Hi Peeps,

I have been MIA for a few days, I had Sunday all planned to get some crafting done and it all went wrong.  Housework was done and it just remained for me to take little Ollie out for his walk so he would be tired and hopefully sleep whilst I set to task in my craft room, but my worst fear happened.  We had only just arrived at the dog walk park when from about 30ft from us two dogs spotted Ollie and travelled the distance in next to no time.  I was unable to pick him up quick enough so the Rotweiler managed to sink his teeth into Ollie.  The squealing and crying from Ollie is still haunting me.  I tried to prise the jaws of the attacking dog apart but just couldn't move them.  I couldn't pull Ollie away as he had his ear between his jaw and had no intention of giving up. It seemed to go on an age with Ollie screaming before the owners, who were throttling the Rotweiler managed to get him to let go.  Ollie's ear was bleeding and he went into shock in my arms and I was shaking like a leaf.  As you all know I'm a new dog owner and was really enjoying my little pup and this came as quite a shock to me, and one I certainly don't want to repeat.  From speaking to other dog owners I think we actually came off lucky as this particular dog as attacked before but the last little dog didn't make it.  I think because I had a hold of Ollie that the Rotweiler couldn't take him off and shake him about.  Fortunately the second dog just watched the attack and didn't join in, thankfully.

Once I calmed down I noticed that the attacking dog had his lead put on and a muzzle.  I did question the owners as to why on earth this dog was off lead and they responded by saying, "he doesn't usually attack", although I have heard different.  The owner then said to me to put Ollie down, which I refused to do until she had put the second dog off lead onto a lead.  Can you believe she said to me, "oh he's alright, he wont hurt him".  It was only two minutes ago that apparently the other one didn't attack!

I cleaned up Ollie's ear and I put my hand on his head to keep him still and noticed more blood on the top of his head.This time it was a small hole, a puncture from the tooth of the Rotweiler.  Poor little Ollie. It has certainly made me wary and I am yet to take him back to the dog walk, which he used to enjoy.  I won't be trusting any dogs at all from now and after receiving some sound advice from my MIC teamies, I will be carrying a spare lead to swing around and an umbrella.

So after my little rant I'd like to show you my DT card for Crafts and Me which has the theme of "Birthdays", nice and easy.  I also placed this card onto the Copic Marker Europe blog and if you haven't visited for a while, hop on over, there's lots of inspiration and tutorials.  Right, lost my way again, I have used one of the new stamps from Crafts and Me.  They are all so beautiful I had difficulty choosing which one to colour up first.  This image is called  Black Rose.


I have coloured her wings and bodice using one of my favourtie combo's, R85, R83, R81 and the colourless blender with R81 to blend out

I also used the COPIC Opaque White with a fine tipped paint brush and added white strokes to the wings. The Copic Opaque is so useful for adding highlights as well as creating snow.


  For the skirt I used my Greys C5, C3, C1. For the skin combo I used E000, E00, E01, E11, and for the hair I have used C7, C5, C3 leaving small areas white for highlights.

The vine has been coloured using YG67, YG63, G20

Full list of Materials:-
Image "Black Rose" from Crafts and Me
Paper is very old from my stash, sorry there is no name on the back
Ribbon roses from my local craft shop Loobi Crafts
Fairy Wishes sentiment stamp is by Whimsey
Flowers by Prima and Wild Orchid Crafts
White Gesso for distressing
Cheesecloth
Pearls from BunnyZoe
Copic Opaque

I hope I have inspired you today and I look forward to reading your comments.

I would like to enter my card into the following challenges:-


Paper shelter - pink
Rubys Rainbow - Something with wings


Monday, 24 October 2011

Where's Santa

Hiya Peeps,

I have another Christmas card to share with you today.  I have paired up this cute little Where's Santa Bildarmarna Stamp  with Make It Crafty's Digital Winter Objects and Festive Elements.  If you'd like to learn how to mask your rubber stamp with digital images please see my tutorial HERE.


 I coloured with snow using copics of course and then when I had finished the colouring I used the Copic Opaque White with a very small paint brush and added the snow falling.

The wooden ornament Crystals with embossed with an irredescent embossing powder so they twinkle in the light. 


Aren't they just the sweetest and with the additional elements makes for a beautiful scene don't you think. 

Here's the many copics that I used and after I took the photo and returned to my desk I noticed that the C5 and C7 was still on my desk, so they are not in the photo but I definitely used them on the lamp.

Ingredients:-

Make It Crafty Winter Objects
Copic Opaque White 
Wooden Ornaments Crystals
Raffia 
Flat Backed Pearls 
Martha Stewart Punch Around The Page Snowflake Punch
Pearl Brads 
Stickles stardust on the stars

I'd like to enter my card into the following challenges:-
Oh la la - Let it snow
One stitch at a time - Emboss it
Crafty Hazelnuts Christmas - Make a scene
Little Claires - Christmas
Secret Crafter - Wrap up warm
Christmas Stampin - Sparkly
Floweret - Christmas
Jinglebellesrock - Falling snow
Phindy's place - blue christmas
Charisma - Embossing


Thursday, 18 August 2011

Easy Version of Merging Digital with Rubber Stamps

Hiya Peeps,

I have written this tutorial for those wanting to try merging digital images with your existing rubber stamps. I have used Word but the principal should be same with whatever package you are using.  Please note all pictures will expand when clicked on.

This is the picture we ultimately end up with:-


And this is how we achieve this scene. 

In word you have two ways of bringing your image in. Firstly by copying and pasting. Go to where your digital image is saved on your computer and right click.  Choose Copy.


Open up a new page in word, right click and choose Paste, or a quick way to do this is to press the control key and "V".


Now your image is on the page you will want to be able to move it around.  Right click on your mouse, Choose Text Wrapping and then Square.


OK, now you are free to move your image around the page but you may need to resize.  You will see the square around the image.  Right click on the top left hand corner of the box and Wthen hold down the left click button on your mouse and move it up or down to resize.


When you think you have it in the right postion print out on paper, not your stamping card.  I then put my image against it to see if I have the right height.  Adjust as necessary for your image.  Once I have it in the right place I need to mark where I will need to stamp my image.


 Now you need to get out your stamping card.  You may want to test different cards with the inks in your printer.  For printing digi's with my HP printer I have to use the cheapest black ink I can find.  It is all down to the pigment in the ink.  If I use the original ink, then it smudges with my copics.  I also set to print on draft but again your printer may be different, so please experiment and don't give up.

Place your draft copy with the mark in position on top of your stamping card.  I use a very sharp pencil to go through the marker and pierce the paper and inserting the dot onto the stamping card. This is where I will need to stamp my image.


Stamp your image where you have marked.


Now yo need to mask off your image.  You will need a masking tape, I have used woodware, staz on ink, this is important and the only ink you can use on shiny surfaces and of course your choice of image.  Stamp out your image using the staz on onto the masing tape/film and cut out.


Match the mask over your stamped image on your cardstock and you are now ready to put the image through the printer to add your digi background.

Remove your mask and you are now ready to colour.  Be careful when removing your mask as the printer ink on top of the mask will come off on your hands and you do not want to get this over your image.

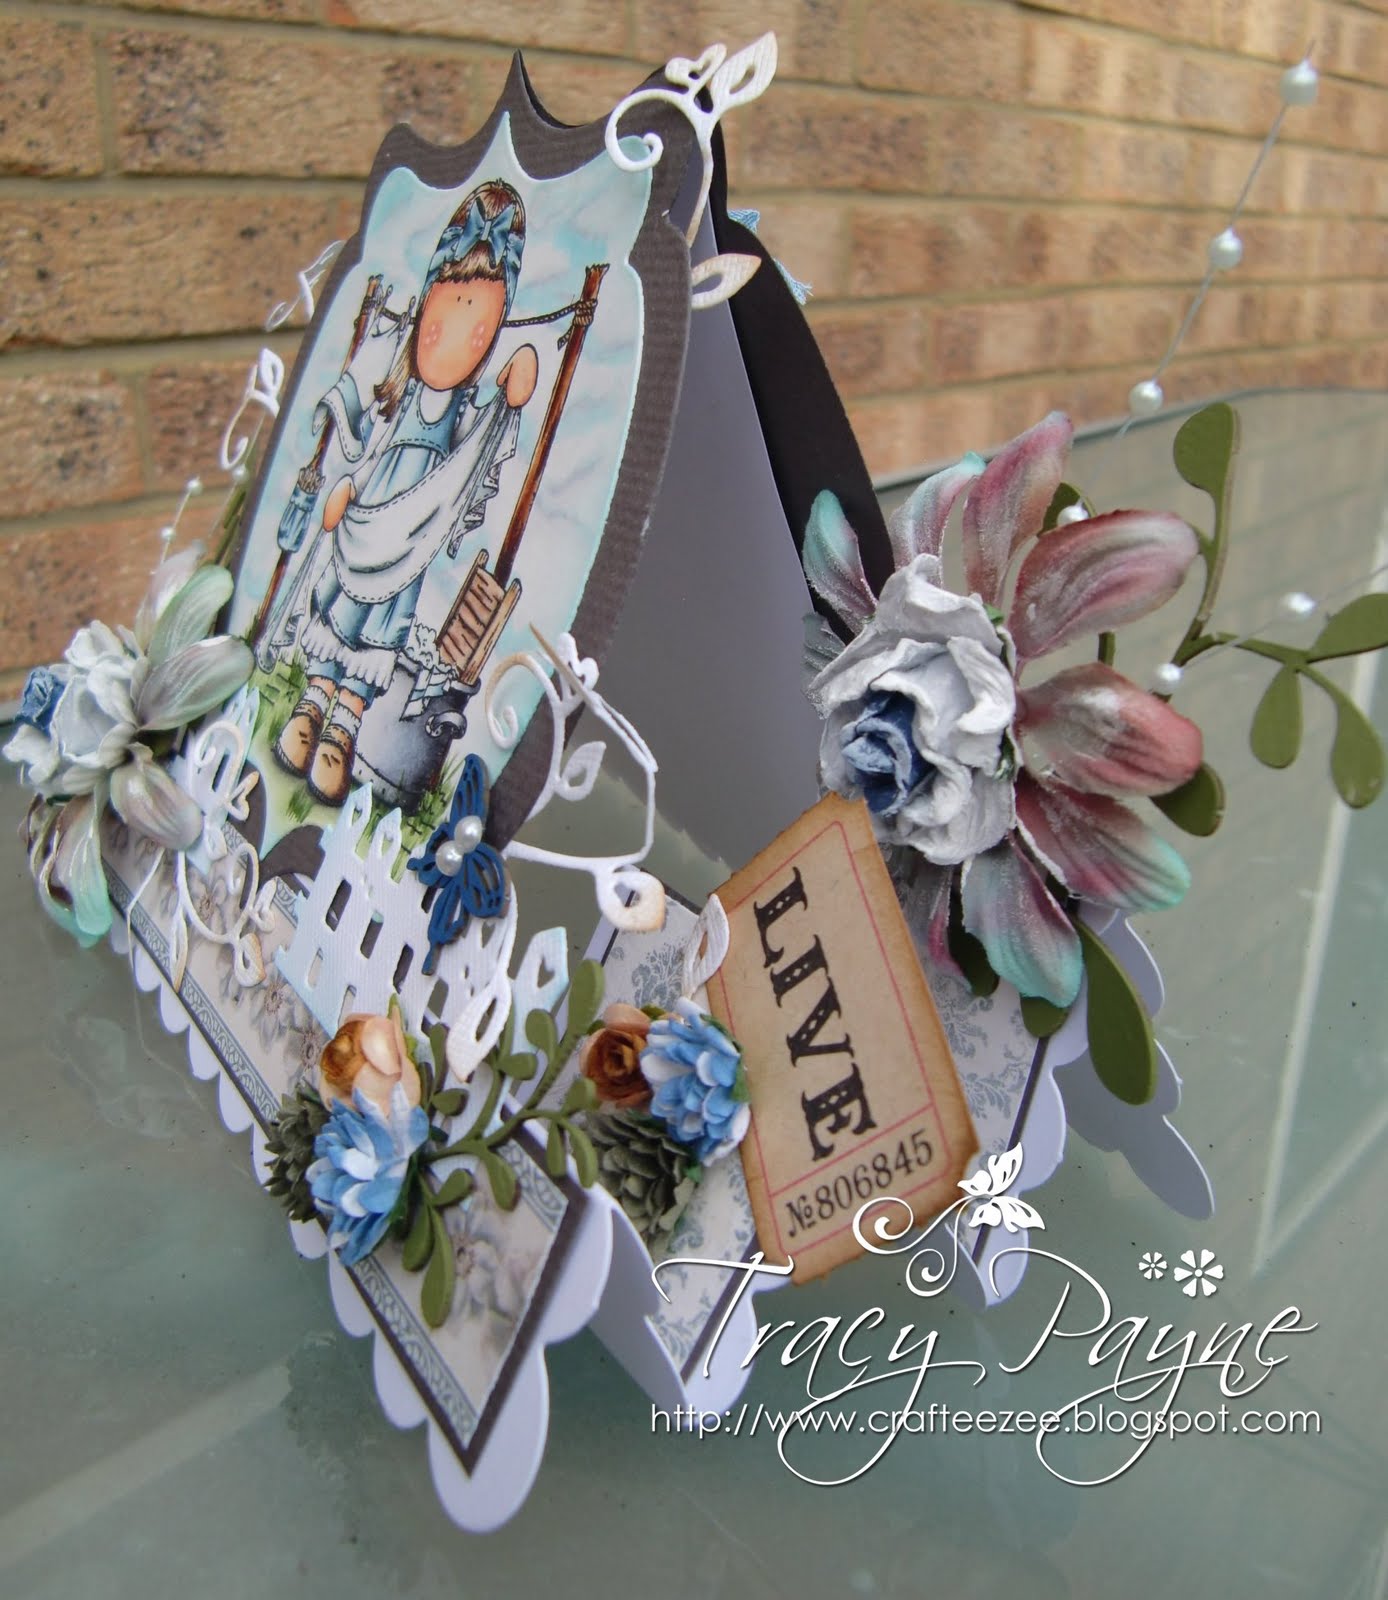
And here is my finished card. 


Again I have had drawn the clouds and used B91, B000, C1, C3, C00 


I have embossed the doily and dragonfly with moonglow embossing ink, so it changes from a blue to a gold colour in the light.

Here is the complete list of copics I have used.


 Ingredients:-

Butterfly Girl Image is by Sugar Nellie Simply Sassy HERE
Tulip Garden Digi by Make It Crafty HERE
Lasercut Chipboard Dragonfly and Corner Flourish by Make It Crafty HERE 
Papers by Prima
Moonglow Embossing Powder
Martha Stewart Frond Punch and Border Punch
Pearls and Flowers from stash


I hope you have found this tutorial helpful and I look forward to reading your feedback. 

I'd like to enter my card into the following challenges:-


Little Miss Muffet - Multiple Images


Sunday, 31 July 2011

A Breezy Day

Morning Peeps,

I have posted today my first card for Copic Maker Europe and if you haven't hopped over you really should, there's tips, tutorials, an awesome design team oozing inspiration, not sure why I'm on it, lol, colour charts and everything you need to know about copics, so hop on over and follow and of course a little support wouldn't go amiss.  I have used a Hanglar image and I apologise for the amount of pictures but I always find Easels and Stair Steps difficult to photograph as you know so there are several so you don't miss any of the little details, and I'm certainly a girl who loves her embellishments.


If you click on the pictures you will get a better view.


I did warn you , more pictures and more embellishments!


Isn't she just adorable. I drew the scattered clouds using my copics.


This is the back. I have made a pocket and popped two tags in so you can write your message and stamp a sentiment if required.


And here's the copics I used.

Ingredients:-
Medium Copics as above picture
Image by Hanglar & Stanglar
Papers by Pion
Go Kreate Die
Magnolia Doohickety Tag, Swirl Heart, Fence Die
Green, Blue and White Acrylic paint 
Leaves and butterfly are lasercut chipboard embellishments from Make It Crafty/Quixotic Paperie
Flowers and seam binding from stash
Tickets and Distress ink from Tim Holtz
Mini buttons (on tags on back of card)

I have entered my card into the following challenges:-

Just Magnolia and Stanglar - Buttons, Bows and Blooms
Craftyanns - Summertime
Fashionista Friday - Summer
Phindys Place - Diecuts
Wags n Whiskers - Buttons and Bows
4 Crafty Chicks - Bling
Little Miss Muffett - Summer


Hope I have inspired you today and thank you for any comments that you may leave.